Connector Reference Documentation
| DevKit is compatible only with Studio 6 and Mule 3. To build Mule 4 connectors, see the Mule SDK documentation. |
After creating your connector, documenting its functionality helps customers use your connector effectively and can help reduce customer support and training costs.
Documenting a connector consists of creating:
-
Javadoc reference documentation - See the sections below
-
Readme, use cases, and release notes - See "Documenting with Use Cases" in Packaging Your Connector for Release
Anypoint Studio simplifies the work of creating reference documentation.
Mule builds on Javadoc to automate and simplify the creation of technical reference documentation for your connector, adding a custom Javadoc doclet and some DevKit-specific Java annotations. This document describes how to generate documentation and what to include.
Prerequisites
This document assumes that you are familiar with Anypoint Studio and with Javadoc. It also assumes that you have already developed and tested your connectors.
Generating Documentation
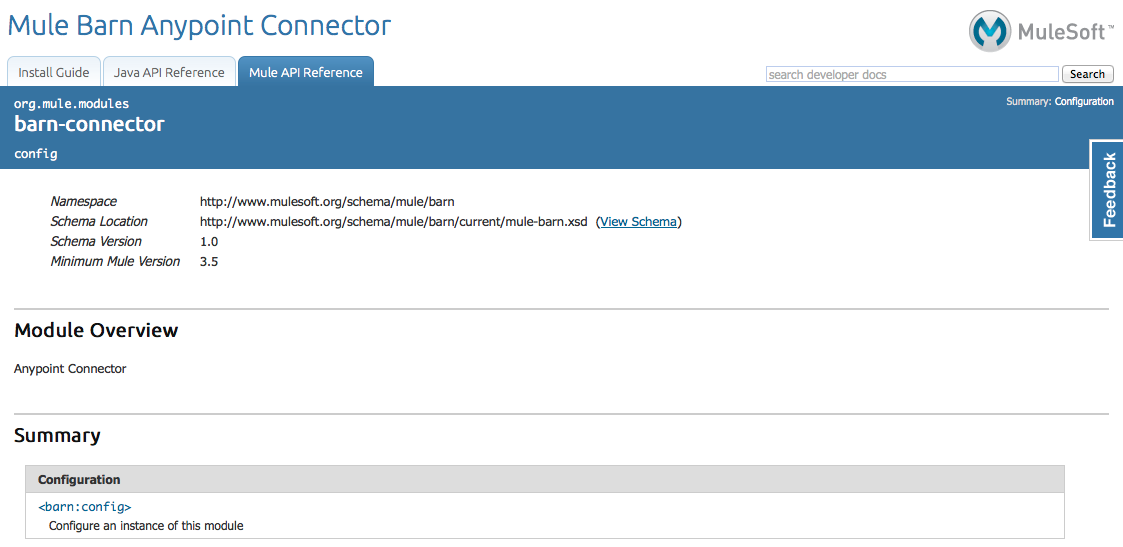
Whenever you build the connector, DevKit automatically creates an HTML file that serves as a user-friendly reference for the Javadoc annotations that you have added within your code. This documentation can be previewed by right-clicking your project in the Package Explorer, then select Anypoint Connector > Preview Documentation.
This generated documentation can be found in the target/apidocs directory in your project. Open the file index.html to show the fully generated documentation.

The documentation always includes the following:
-
Mule XML configuration documentation
-
Reference documentation for calling connector methods directly from Java
-
A (boilerplate) guide to installing the connector in Mule
As you build out your connector, review the generated documentation to ensure that the contents are sane and correct. If you find the generated documentation insufficient, you can always include more detail in the Javadoc comments in your code.
Documenting Annotations
The following sections describe the annotations that can be used in Anypoint DevKit to document your connector.
| Documentation is not mandatory, however, unless you disable the Javadoc Check, errors display. To disable Javadoc Check and show errors as warnings, right-click your project, and click Anypoint Connector > Disable Javadoc check. |
Required Connector Metadata: @Connector and @Author
Each class annotated with @Connector should have a class-level Javadoc comment with a high-level overview of the extensions. This may also include the @Author annotation.
/**
 * Anypoint Connector
 *
 * @author MuleSoft, Inc.
 */
@Connector(name="barn", schemaVersion="1.0", friendlyName="Barn", minMuleVersion="3.6")
public class BarnConnector
{
  ...
Documenting @Configurable Attributes
@Configurable annotations can be documented by having a Javadoc comment that briefly explains the attribute.
/**
 * The username to access the service
 */
 @Configurable
 private String username;

/**
 * The password to access the service
 */
 @Configurable
 private String password;

/**
 * The API endpoint;
 */
 @Configurable
 private String apiEndpoint;
Documenting @Processor Methods and Parameters: @param and @return
Each method annotated with @Processor or @Source (for streaming APIs) should have a Javadoc comment that includes the following:
-
A description of the use of the method
-
A pointer to an XML code sample for the element in Mule (described below)
-
For each parameter of the method, a Javadoc
@paramannotation, with a description of the parameter
If the method has a return type other than void, a Javadoc @return annotation includes a description of the return value.
/**
 * Custom processor that places an animal in the barn.
 *
 * {@sample.xml ../../../doc/barn-connector.xml.sample barn:putInBarn}
 *
 * @param animal Name of the animal to be place in the barn
 * @return returns processed message
 */
 @Processor
 public String putInBarn(String animal)
 {
     return animal + "has been placed in the barn";
 }
Required XML Code Samples: @sample.xml
The @sample.xml annotation points to an XML snippet that demonstrates how to use this method in Mule’s XML. This example is then featured in the generated DevKit documentation.
DevKit also does sanity checks on the XML code referenced by the @sample.xml annotation, ensuring that the XML example parses successfully against the generated schema for your connector.
Syntax for the annotation is shown in the example below.
{@sample.xml xml-location tag-name}The parameters passed to @sample.xml are as follows:
-
xml-location: The relative path fromsrc/main/javato the example file. The Maven archetype creates this file in your project atdoc/project-name.xml.sample; the relative path is generally../../../ -
tag-name: A name for the example in the.xml.samplefile, in the formatmyconnector:my-method-nameormyconnector:myMethodName.
The examples file specified by the @sample.xml tag must adhere to the structure displayed in the example below.
<!-- BEGIN_INCLUDE(myconnector:method-a) -->
// example here
<!-- END_INCLUDE(myconnector:method-a) -->
<!-- BEGIN_INCLUDE(myconnector:method-b) -->
// example here
<!-- END_INCLUDE(myconnector:method-b) -->
...
Here is an example for the message processor 'myGreeting' given above.
<!-- BEGIN_INCLUDE(barn:putInBarn) -->
    <barn:put-in-barn animal="#[map-payload:animal]" />
<!-- END_INCLUDE(barn:putInBarn) -->
See Also
After you add all required operations to your connector and develop tests, move on to packaging your connector for release.


