Hello Mule
|
Did you know . . . Studio provides two-way (i.e., graphical and code-based) editing, which means that developers no longer have to trade ease-of-use against fine-grained control over their development projects. Any changes you make in one mode appear instantly in the other. Mule Enterprise and Mule cloud developers can fine-tune their applications in the advanced Studio XML editor, then re-deploy them on whichever version of Mule those applications were originally developed. Studio installation is almost instantaneous, and a pair of tutorials can get you up and running in less than 40 minutes. Let’s get Kicking! |
This page describes the fastest route for downloading, installing, and running Mule ESB. After following the steps in this topic, you will have configured your development environment, launched Mule ESB 3, and successfully deployed your first Mule ESB application.
For the complete installation instructions, including how to set up additional tools such as Maven, or controlling how Mule is configured at startup, see the Complete Installation Manual.
Prerequisites
-
You must have one of the following Java Development Kit packages installed on the computer where you install Mule:
-
Standard Edition 1.6.0_26 (also known as JDK SE 6 Update 26) or more recent
-
Enterprise Edition 1.6u3 (JDK EE 6 Update 3) or more recent
Download and Install Mule
-
In your browser, go to the Mule download page.
-
Extract the files from it into the directory you want to use as your Mule home directory.
Do not install Mule in a directory path that contains spaces! On Linux/UNIX, in a terminal window switch to your installation directory, and enter the following command:
tar -xvzf mule-standalone-3.2.0.tar.gz
|
If you’re upgrading from Mule ESB 2.2, read this: Previous versions of Mule ESB required setting an environment variable called MULE_HOME to run Mule. As of Mule 3.1, the MULE_HOME variable is no longer required. Make sure to remove this setting from your environment before running Mule 3.2. This is also true of a previously set MULE_BASE variable. |
Install Eclipse and Mule IDE
To begin developing a Mule application, install the Mule IDE.
| If you are using an older version of Studio and need to reinstall, contact MuleSoft Support to obtain that version. Otherwise, obtain the current Studio version. |
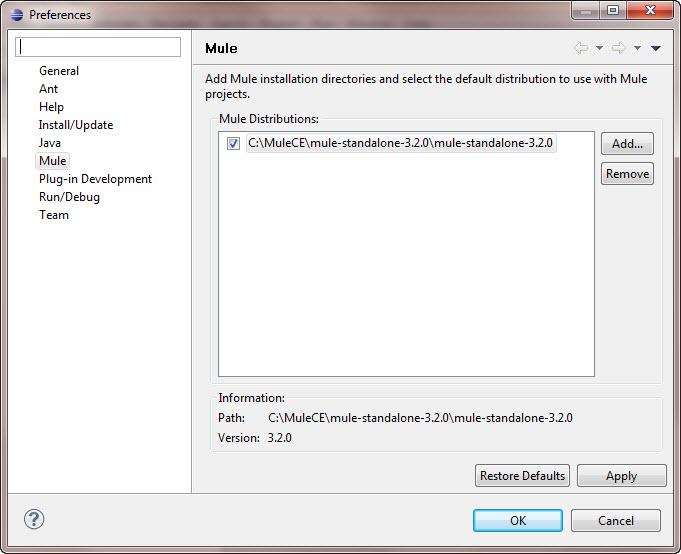
Configure the Mule Distribution
To execute Mule properly, you must specify in the IDE the location of your Mule distribution.
-
In the Eclipse workbench, choose Window > Preferences. (On Mac OS X, choose Eclipse > Preferences.)
-
Choose Mule, and then click Add.
-
Specify your Mule home directory. Then click OK.
-
Select the Mule distribution’s check box, click Apply, then click OK.
Create a Mule Application
-
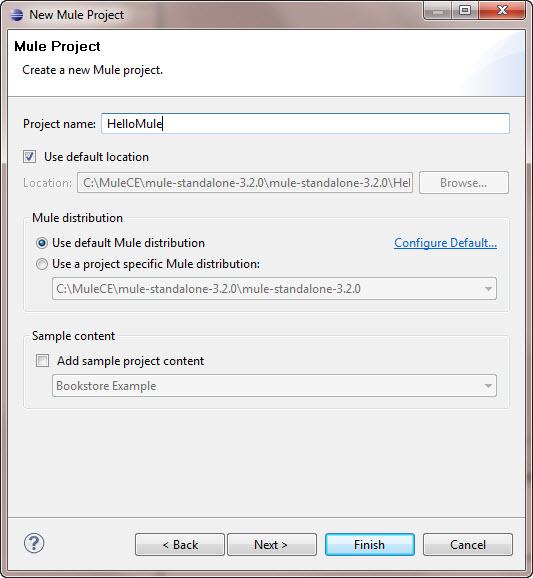
Choose File > New > Project, expand the Mule folder and select Mule Project, and then click Next.
-
Enter a name for the project, ensuring that there is no space in the project name. If you want to put the project in a location other than the default workspace, clear the Use default location check box and specify a new file location.
-
Click Finish so the Mule IDE generates your project. The project you create is added to the Package Explorer pane. The Mule libraries from the distribution you selected are contained in the project.
-
Create a conf directory in your Mule project.
-
Create a new file in the conf directory called "mule-config.xml."
-
Add the following configuration to mule-config.xml:
<?xml version="1.0" encoding="UTF-8"?><mule xmlns="http://www.mulesoft.org/schema/mule/core"      xmlns:script="http://www.mulesoft.org/schema/mule/scripting"      xmlns:xsi="http://www.w3.org/2001/XMLSchema-instance"    xsi:schemaLocation="      http://www.mulesoft.org/schema/mule/scripting http://www.mulesoft.org/schema/mule/scripting/3.2/mule-scripting.xsd http://www.mulesoft.org/schema/mule/core http://www.mulesoft.org/schema/mule/core/3.2/mule.xsd" >    <simple-service name="hello" address="http://localhost:8080/hello">
  <script:component>
    <script:script engine="groovy">
      <script:text>return "Hello World"</script:text>
    </script:script>
  </script:component>
</simple-service></mule>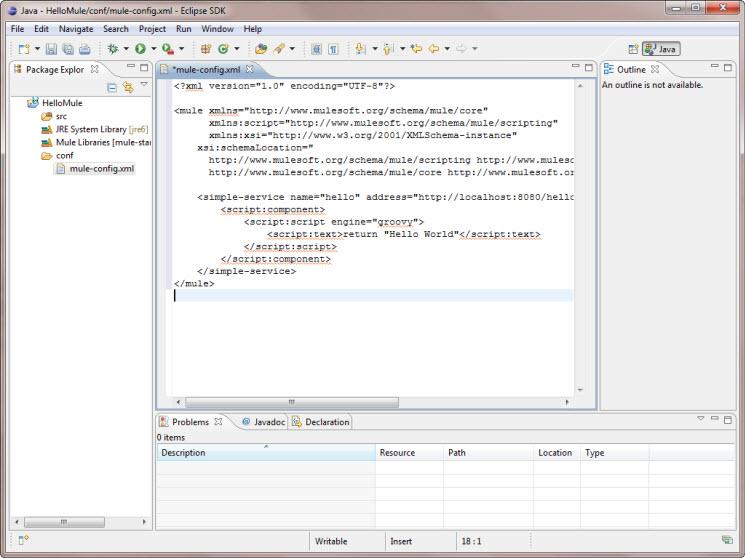
Note that what you have just done is create a Mule application, which is XML-driven. When you create a configuration, you are creating an application.
Run the Application
-
In the Package Explorer, expand the
confdirectory, and right-click themule-config.xmlconfiguration file. -
Choose Run As > Mule Server.
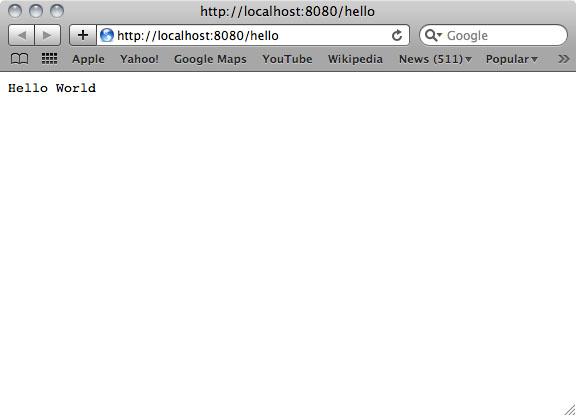
A new run configuration is created automatically and the server is started. To trigger the Hello service, connect to http://localhost:8080/hello in your browser. The server should respond back with the text "Hello World."
That’s it! You have a complete Mule development environment up and running and have created your first application.
Next Steps
-
Run the example launcher for the included examples to learn more about how to program Mule.
-
You can now modify the configuration file, or create a new configuration file as described in Mule Studio.
-
If you want to use Maven for a task such as using the Maven archetypes for creating transports and modules, see Setting Up Eclipse for Use with Maven for complete instructions.