Template Library
| Mule Runtime Engine versions 3.5, 3.6, and 3.7 reached End of Life on or before January 25, 2020. For more information, contact your Customer Success Manager to determine how you can migrate to the latest Mule version. |
The Template library (Aypoint Exchange) is a discovery interface where you can find templates that can make the adoption of Anypoint Studio a lot easier for you. Although this library can be accessed via your installed copy of Anypoint Studio, it’s read off an online repository that is periodically expanded and updated.
Templates are simple projects that cover typical enterprise integration use cases. If you find one that performs exactly what you need, all you must do is provide it a series of user credentials and it should be good to deploy! You might otherwise find one that comes close to what you need and hence customize or extend it accordingly. All the templates in the library are built based on one of the five data integration patterns:
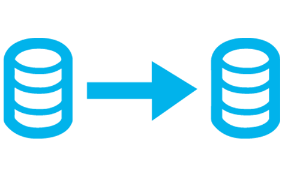
Migration |
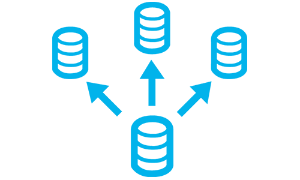
Broadcast |
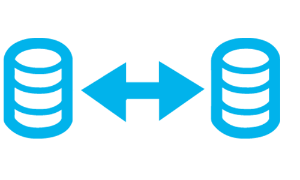
Bi-Directional Sync |
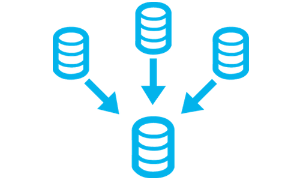
Aggregation |
Correlation |
|
|
|
|
|
How to Access Templates
There are three ways to access templates:
-
From the Exchange X icon in the Anypoint Studio toolbar.
-
Through Anypoint Studio’s dropdown menu, through File > New > Start From Template.
-
Through the Template Exchange web site.
How to Navigate Exchange
Exchange is searchable through tags and keywords. Each project is tagged with labels that refer to things such as the connectors it employs, the Mule Runtime versions it supports, etc. They are also organized by pattern (such as migrations and aggregations), so you can scan through only those that perform what you’re interested in doing.
Implement a Template
-
In Anypoint Studio, click the Exchange X in the taskbar, and log in with your Anypoint Platform credentials.
-
Find the template that best suits your needs, click it, and click Add to project.
-
You can now see this project available in the Studio Package Explorer. Take a look at the files it contains.
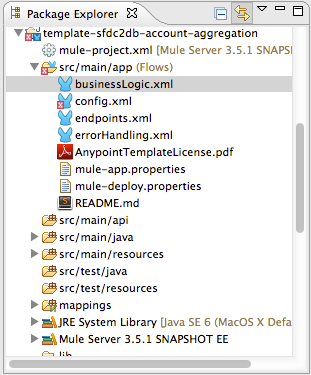
When you first open the project it may be marked as having errors. These should simply refer to the fact that the connectors being used in it need to be configured with your user credentials to work. -
Open the
mule-project.xmlfile, located directly in the root level of the project folder. If you wish to deploy your app to any environment other thandev, change the value of themule.envparameter.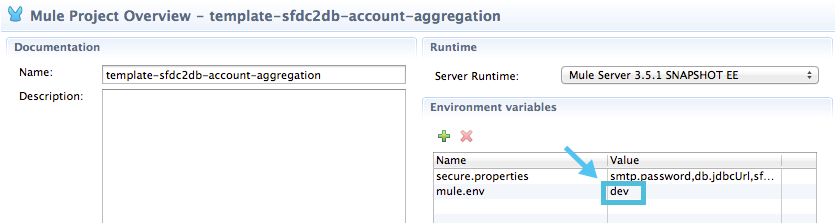
-
All templates in Exchange come built in such a way that to make them work, all you need to do is include your credentials in the configuration files. All of the connectors and global elements in the project’s flows reference the fields in these configuration files, so (unless you plan on expanding or customizing how the template works) you never really need to modify or even look at anything other than these files.
Under the
src/main/resourcesfolder, find the file that corresponds to the environment that you selected for deploying in the previous step, then open it. -
Provide a value for each of the fields that the configuration file expects, this may include user credentials, port numbers, callback URLs, etc.
-
To test your app, save the project and deploy it to Anypoint Studio’s embedded run time by clicking the dropdown menu next to the
playbutton and selecting the project out of the list.
-
Now your app is now ready to Deploy.
See Also
-
View the Anypoint Exchange documentation.
-
Read a Blog Post and Another One about templates that center around Salesforce.