Enabling Maven Support for a Studio Project
| Mule Runtime Engine versions 3.5, 3.6, and 3.7 reached End of Life on or before January 25, 2020. For more information, contact your Customer Success Manager to determine how you can migrate to the latest Mule version. |
You may wish to take a Mule project that was already created in Anypoint Studio and add Maven functionality to it. Maven can make your project more easily shareable with other developers as it takes care of its dependencies and helps automate your project’s build process.
This page describes how to use Studio’s native support for the "mavenization" of a Mule project.
Mavenizing an Existing Mule Project
If you have an existing Studio project that was created without Maven support enabled, you can still add Maven support to it by "Mavenizing" it.
-
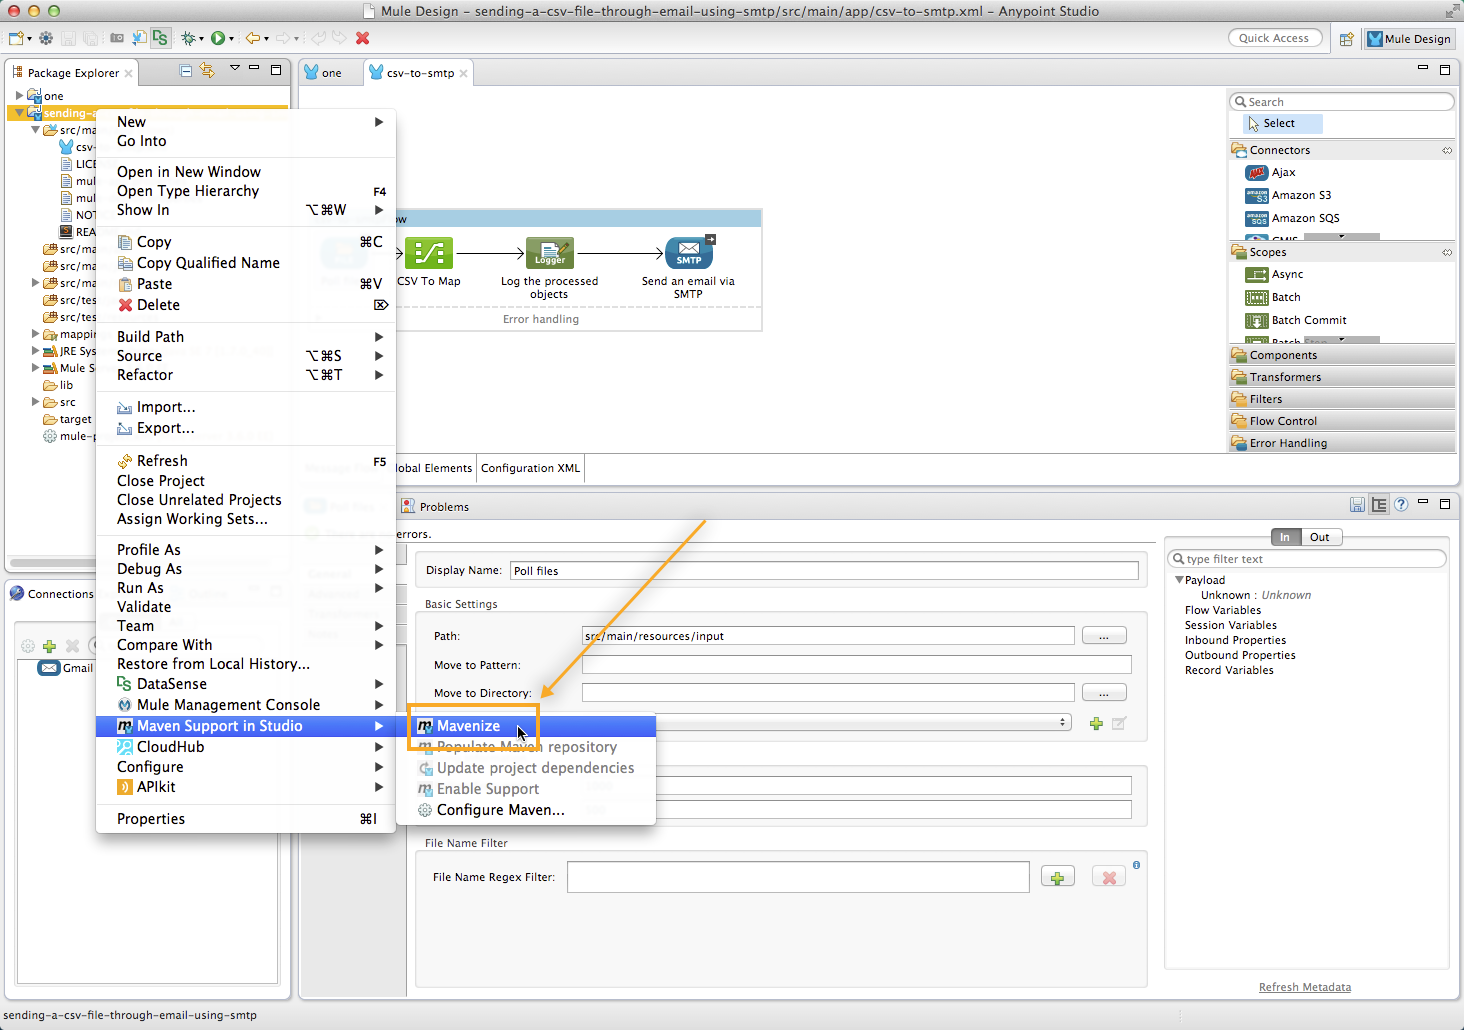
Left-click the name of your project in the Package Explorer.
-
Select Mule > Mavenize.
-
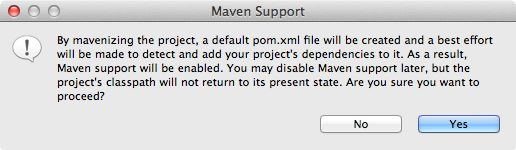
Studio presents a confirmation dialog, warning that although Maven support can later be disabled, this will not reset your project’s classpath. Click Yes to confirm.
-
Studio creates a pom.xml file for your project. You can observe the progress in the console.
-
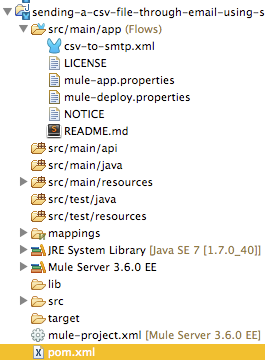
When the mavenization process is complete, the pom.xml file for your project appears in the Package Explorer underneath the mule-project.xml file.
Running a Mavenized Project
You can now run your project on the embedded server in Anypoint Studio either as a Mule Application or as a Mule Application with Maven. You can also package your Mule project from the command line by executing the following syntax:
mvn package
The maven-mule-plugin packages the project in a .``zip file and places it in a /target folder. Copy the .zip file to the apps folder of your standalone Mule ESB instance to run the application.
See Also
-
Learn how to migrate a Maven project into Studio.
-
Learn how to build new Maven projects directly in Studio.
-
Learn how to create a gitignore file if you want to implement Git.